xPlora: Digital Thermometer
Introduction
When you visit the doctor, one of the first things they say is, “Let’s check your temperature!” That’s when they bring out a digital thermometer.
A digital thermometer is a tool that helps doctors know how warm or cool your body is. If your body is too warm, it might mean you have a fever. But if it shows around 36.8°C, that means your body is feeling fine.
The thermometer has a small sensor that checks your body temperature. Then it shows the number on a screen. This helps doctors and nurses know how to take care of you.
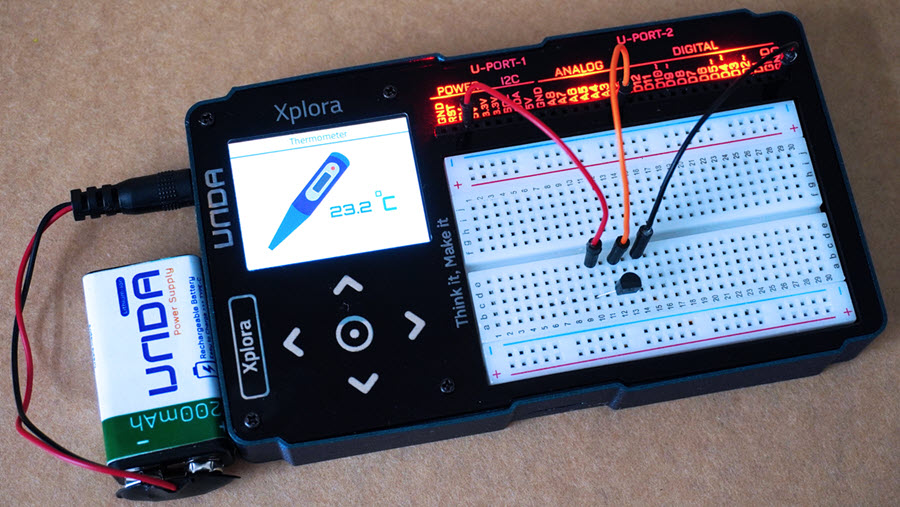
In this project, you will build your own digital thermometer. It will measure temperature just like the one used at the hospital.
You can test it by gently touching the sensor with your hand or blowing warm air on it to see the temperature go up. To see how it reacts to cold, try placing a cool metal spoon or a bottle of cold water against the sensor and watch the number go down.
Let’s get started!
Build the project
Let's build the Digital Thermometer Project on the UNDA.Xplora breadboard.
Components
The Digital Thermometer project can be built using the components below:
| Component | Description |
|---|---|
| 1 x temperature sensor | 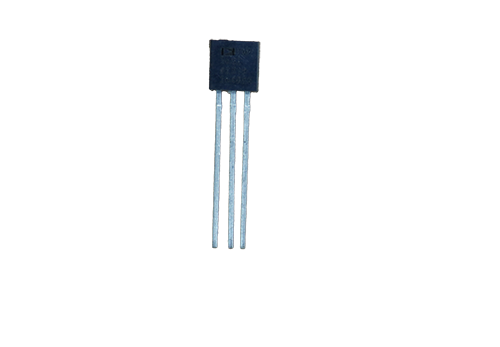 |
| 3 x jumper wire | 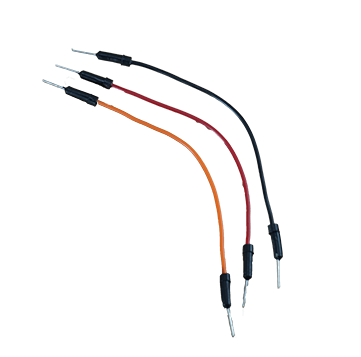 |
Step 1
Placing the temperature sensor on the breadboard
- Step
- Build
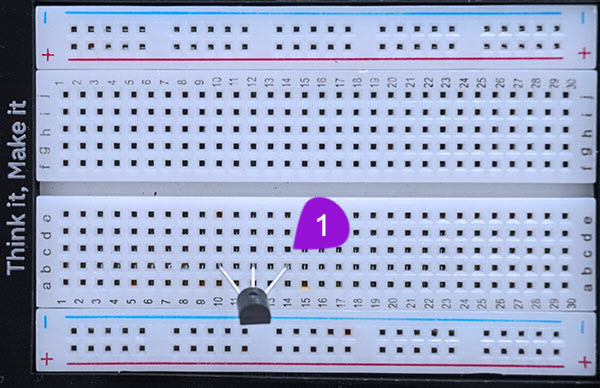
Important tip: When you're placing the temperature sensor, make sure the flat side is facing you and the bulgy (rounded) side is at the back. When placed like this the pinouts will be as follows:
- Left Pin (pin 1) is the positive pin of the temperature sensor.
- Middle Pin (pin 2) is the signal pin of the temperature sensor.
- Right Pin (pin 3) is the negative pin of the temperature sensor.
This helps you connect the wires correctly so it works safely and gives the right reading.
- Connecting the temperature sensor: Take the temperature sensor from the components kit. Connect the positive pin , which is pin1 of the sensor into breadbord pin b10. Proceed to insert the second pin(signal pin) into breadboard pin b12 and the third pin which is the negative pin of the sensor into breadboard pin b14.
Step 2
Connecting the negative pin of the sensor
- Step
- Build
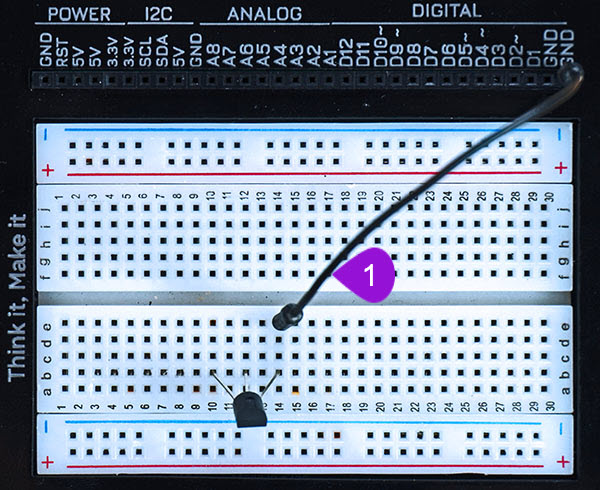
- Connecting from GND: Using a jumper wire, insert one end of the wire into any GND of your UNDA.Xplora. Insert the other end of the jumper wire into breadboard pin e14 next to the negative pin of the temperature sensor.
Step 3
Connecting the signal pin of the sensor
- Step
- Build
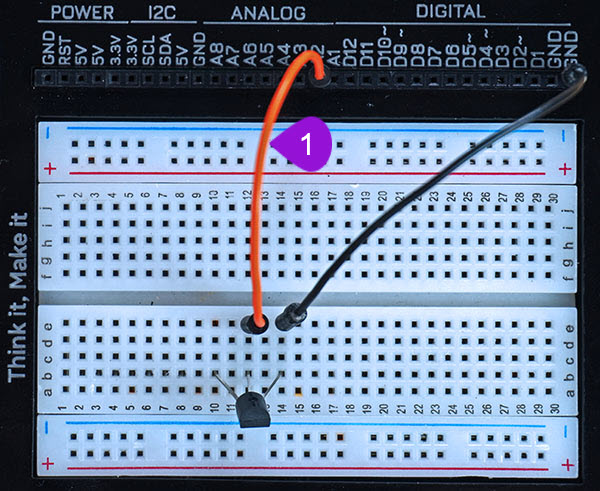
- Connecting the signal pin of the sensor: Using a jumper wire, insert one end of the wire into analog pin A2 of your UNDA.Xplora. Insert the other end of the jumper wire into breadboard pin e12 next to the signal pin of the temperature sensor.
Step 4
Connecting the positive pin of the sensor
- Step
- Build
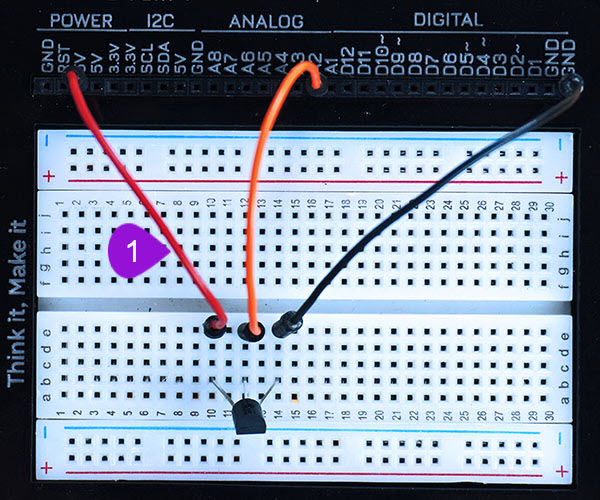
- Connecting the positive pin of the sensor: Using a jumper wire, insert one end of the wire into any 5V of your UNDA.Xplora. Insert the other end of the jumper wire into breadboard pin e10 next to the positive pin of the temperature sensor.
Run the Project
Once you are done with building the project, connect the battery to the the battery connector and then plug it to the power port of your Unda Xplora to power it on.
Follow the steps below to load up the Digital Thermometer Project.
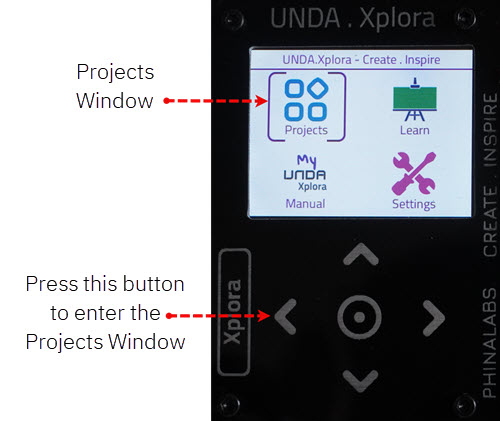
Open Project
From the main window open the projects
Observation
Once the project loads, press the sensor gently but firmly to get the temperature reading. You can also blow on it to see the temperature change.